For many years I’ve been relying on Cocoapods as a dependency manager, which works fine and it’s also widely adopted. But with Xcode 11, SPM now supports iOS targets so I decided to give it a try.
There’s already many article about how to use SPM, so we will not focus on this, but I wanted to share how the workflow/user experience differentiate between Cocoapods and SPM. To illustrate this, we will take the use case of creating a framework that we maintain and we use it from a main iOS application.
Setting up and creating a framework
Hosting
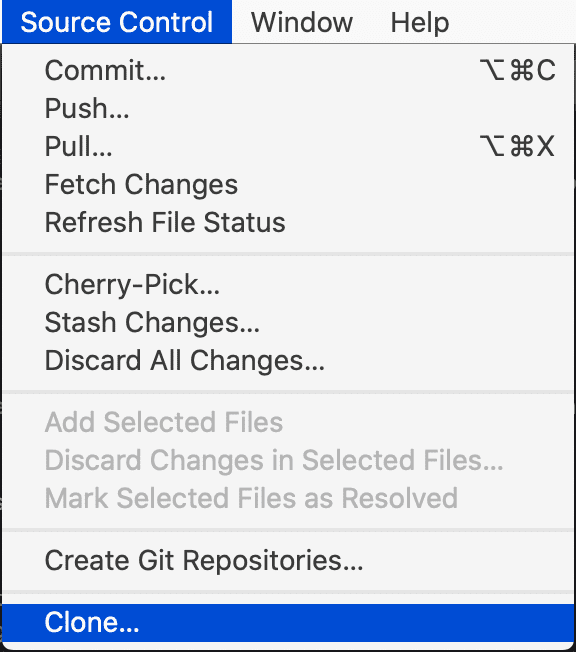
For both cases, we will first need to host the pod or the package to a repository (e.g: https://github.com/new). Once it’s ready, we can clone the repo from Xcode or your CLI.
When using SPM you can actually create the framework as a project first and directly from Xcode create the repository. You will have to enable Source Control from Xcode as a prerequisite. I usually just go with Github, it’s simple enough and you might have some templates ready to go.
Cocoapods
Before being able to use Cocoapods, you have to install it first and maintain an up to date version. After that, you can create a pod. CocoaPods Guides - Using Pod Lib Create
SPM
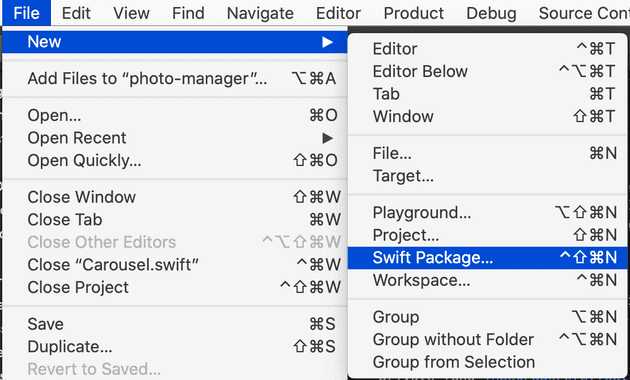
Starting from Xcode 11, to create your framework, it’s as simple as ⌃⇧⌘N or go to File > New > Swift Package.
Who wins?
On one side, you’ve SPM which has a better integration with Xcode but it’s /too?/ simple. On the other side, with Cocoapods, you’ve creation templates and additional set up features. It requires to install an extra tool, it feels a bit more heavy and it requires you to checkout the public master repo which takes more space in your disk.
Integrating the framework to your main app
Fast forwarding a lot, assuming that we already have the pod or the package available (we will cover releasing new changes later), how do we get to use this framework within our main iOS app?
Cocoapods
You’ll need to have a Podfile that will list all the different library you want your project to use, so just run pod init and Cocoapods should generate this file for you.
Within the Podfile, you can specify your framework.
target ‘MainApp’ do
    pod ‘MyFramework’
end
Once specified, you need to run pod install to set up your project. You are also now constrained to use a Xcode workspace.
SPM
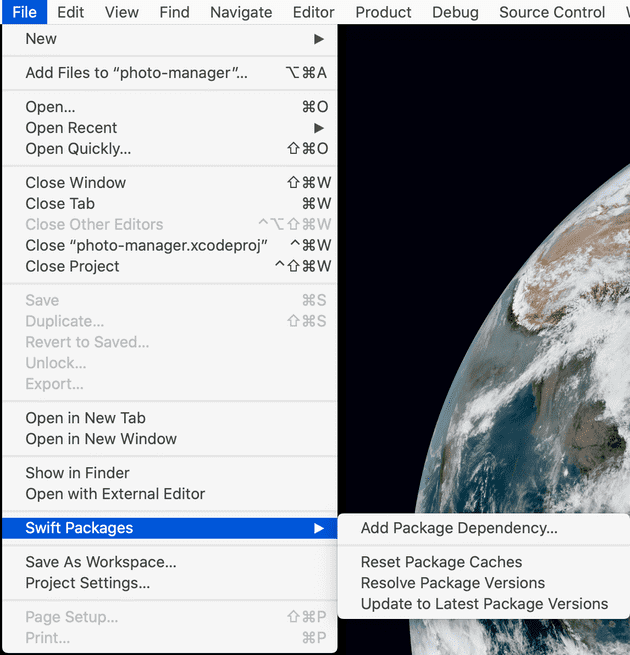
From your Main App project, in Xcode you can go to File > Swift Packages > Add Package Depedency… and give the link to your repo.
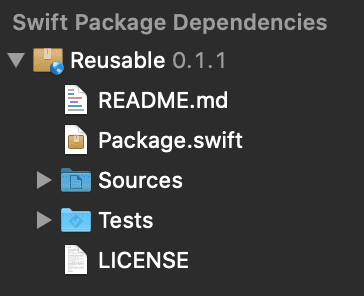
This will add a new section /Swift Package Dependencies/ in the Project navigator and a new tab in your project settings.
Who wins?
SPM leverage a full integration with Xcode. We still have a Package.swift file that we can manipulate or use as a git diff output for for code review. Cocoapods has a lot to offer with Podfile syntaxes, you can be quite creative and use abstract target, shared pods, inherit from different scheme… (CocoaPods Guides - Podfile Syntax Reference). So again, with more features brings more complexity.
Adding changes to the framework
What do we need to do when adding or updating code in our framework?
Cocoapods
In the Podfile, we can specify to use a specific path for a pod. After that, you can apply changes from the framework project itself or from your Main App workspace.
target ‘MainApp’ do
    pod ‘MyFramework’, :path => ‘path_to_your_local_version’
end
When changes are done, we can commit them. You probably need to update the Podfile to not use a local version but a specific commit until you release a new update of the framework.
- For local changes, use :path
- For code-review/while the pod isn’t released yet, use :branch or :commit
- After a release, use the version of the release ’1.1.0
SPM
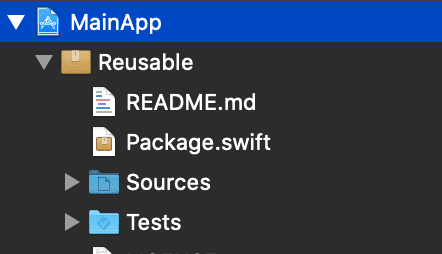
Drag and drop your local version of the Library into the .xcodeproj of your main app. It will recognise it, and you can now work directly with it.
Files inside /Sources are now accessible and can be updated. When you’re good with your changes, commit and push them to your framework repo.
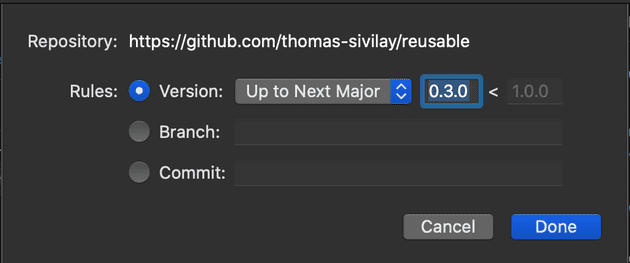
Before releasing your framework, you might need from the Main App project to specify the commit sha1 or the branch name from your framework repo. You can have access to all Swift Packages from your project setting, double-clicking to your framework should open a dialog that gives you the options to choose a rule.
Who wins?
Not many differences in number of steps, again an advantage is that SPM is integrated within Xcode and provide a UI instead of a raw file. We can argue that using the UI is slower (there’s a way to do it via .xcworkspacedata). Overall, I had some issues with Cocoapods changes that doesn’t applies which I never faced with SPM.
Releasing changes of the framework
Once you’ve all your changes, potentially went through some code review and has been approved all we need is to release and make it available with a new tag and version of the library.
Cocoapods
You’ll need to update the .podspec to upgrade the version number, verify that it’s valid (pod spec lint Library.podspec) and then get ready to deploy publicly or maybe your private specs repo.
Once it’s deployed, you can tag the new commit that increased the .podspec and push it to your library’s repo.
On your app level you now need to use the latest release. So, that requires to update the Podfile again to point to this new version. Run some pod update Library and you’re finally done.
SPM
By nature, we don’t need to push it to a centralised repo. If you have a tag that reflect the new version number it’s all we need to make it available and discoverable for anyone who has access to your library’s repo.
On your app level, you can either remove the drag and dropped version of your Library (make sure to only remove reference) and it will fallback to find the Swift Package (you might need to update the version).
Or, if you already update the Package to point to a specific branch or commit you need to change that back to Version. This can be done from going to your project setting (SPM tab).
Who wins?
Less steps involved with SPM, just tag the commit you need to make available and it’s technically enough. That’s less steps than from Cocoapods that requires to update the podspec and publish it.
Also pointing to the new release from your App is easier with SPM, it will require less commands and should be faster to be ready. You will not need to fetch and update your Spec repo before getting your Library last version.
Conclusion: SPM or Cocoapods?
SPM stands for Swift Package Manager but it could be Simple Package Manager. It’s really convenient that we don’t need an extra tool, that it’s well integrated with Xcode. But that is also one of the downside of SPM, we might not see as many features and evolutions as Cocoapods which provides a good amount of extra features you might want.
At the end, I believe that SPM is a good replacement if your project don’t need special features from Cocoapods. Especially if you work in a smaller team, if your project structure are relatively simple, if you work with frameworks that don’t require frequent updates.
As far as I know, there is one limitation that can be a deal breaker. It seems that it’s going to be lifted soon but we can’t include resources to be shared between your framework and apps.
